This page contains a walkthrough for publishing general press releases through Merit's Newsroom platform.
Please note we recommend that you build a distribution list for your story before entering the press release workflow.
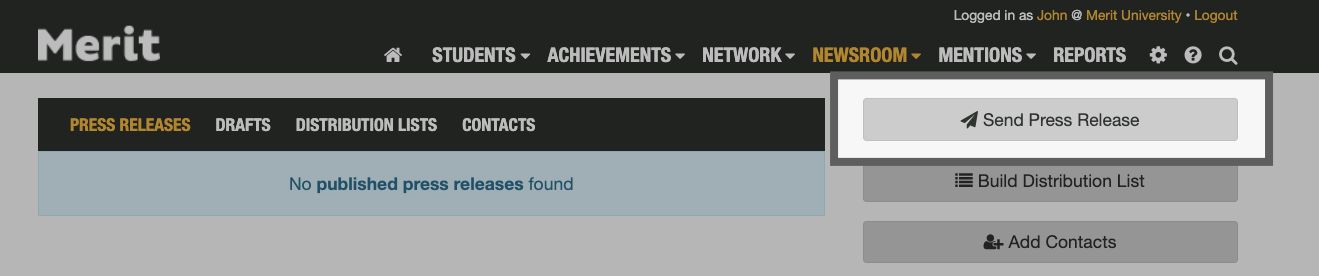
When you're ready to begin publishing your news release, go to the Newsroom tab and click the Send Press Release button to get started:

Draft Your Press Release
Your first step will be to begin assembling your press release. Here you will start adding the necessary text to the corresponding sections of the Newsroom workflow.
Headline - Begin adding your press release headline into the box below:
Sub-Headline - If your press release has a sub-headline, add it to the box below:

Byline Author - Give credit to the author of the press release:

Dateline - Your press release dateline/timestamp will be generated for you automatically behind the scenes:
Press Release Body - This is the content of your press release. You can write it here or copy and paste the text from an external source:
Append Boilerplate - Click the Append Boilerplate button to add the boilerplate saved inside your account to the bottom of your press release:

Press Release Details
You will next want to review and configure your contact information under the Press Release Details section.
Logo - Choose one of the available logos inside your account:

Note: If the logo you wish to use is not listed here, you may upload more from the Settings > Images tab.
News From - If your press release is coming from your athletics department or a specific college or program on campus, you can adjust the source of the press release:

Media Contact- Direct your media recipients to contact the person of your choice at your institution:

Note: This person may be different from the sender of your press release. Your email will come from the email address associated with your user account.
Add Attachments
Photos and videos make press releases stand out and increase your chances of pickup. The Add Attachments section will allow you to customize your press release with media.
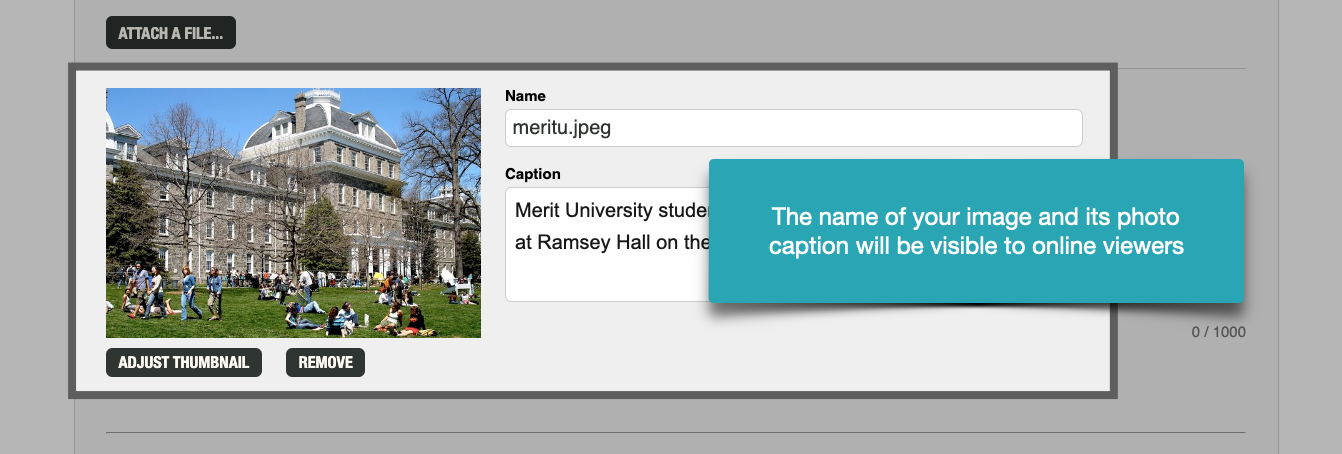
Attach a File - To add a photo, video or document, click the Attach a File button and locate the file on your computer:

Add a Caption - After adding a photo you can rename the file or give it a caption:
Media Distribution
It's now time to select the audience for your press releases. You can either build a list on the fly or use one of your previously built Newsroom distribution lists.
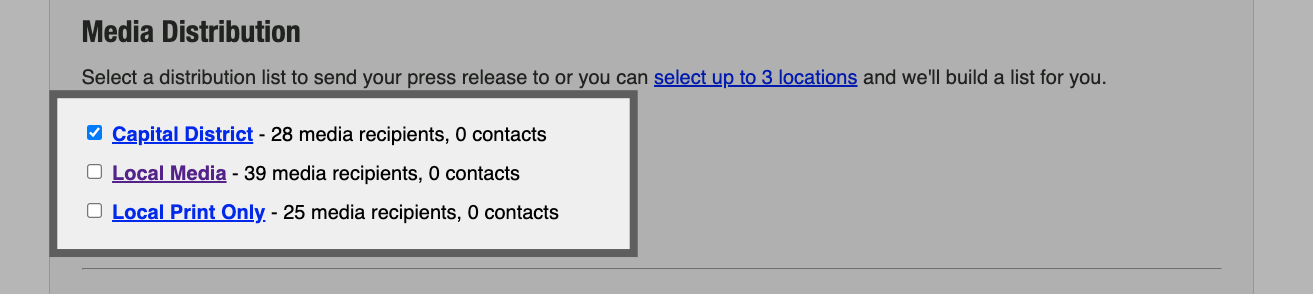
Send to a Distribution List - In most cases, you will likely want to send your press release to one of your previously-built distribution lists. To do this, click on the Select a Distribution List link:

Choose any of your prebuilt distribution lists by checking the box next to any list you wish to target:
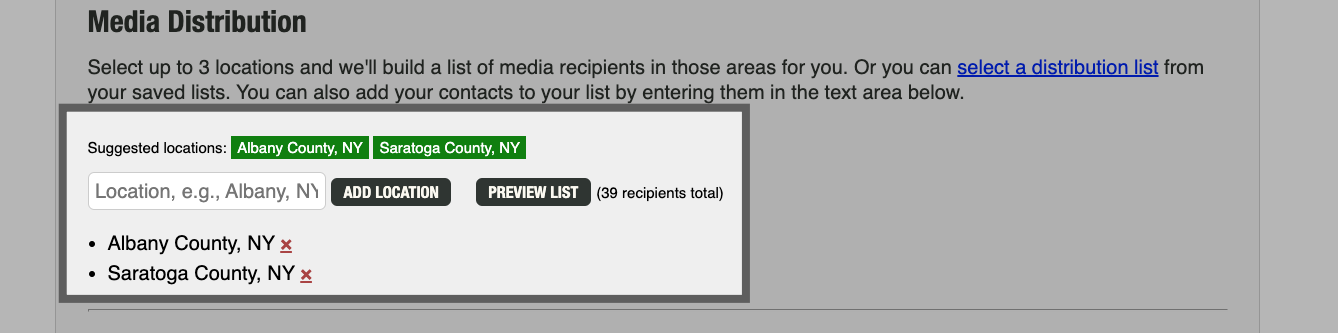
Send to a Geographic Area - If you instead choose to send your release to (up to) three US locations, enter the locations that you'd like to reach in the search box below:
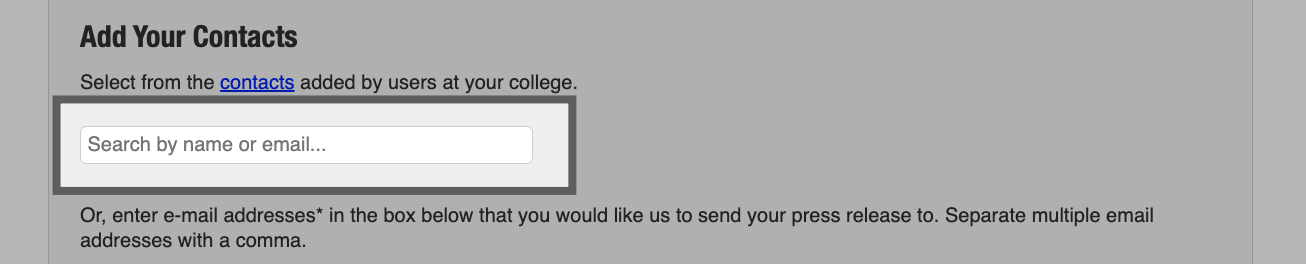
Add Your Contacts
When choosing to reach a geographic area on the fly, you have the ability to add your personal contacts. Keep in mind that these people will receive your press releases as BCCs, so you won't get any metrics for them.
Add Your Contacts - To add your contacts, you can either use the search box to locate and add contacts already saved inside your Merit account:
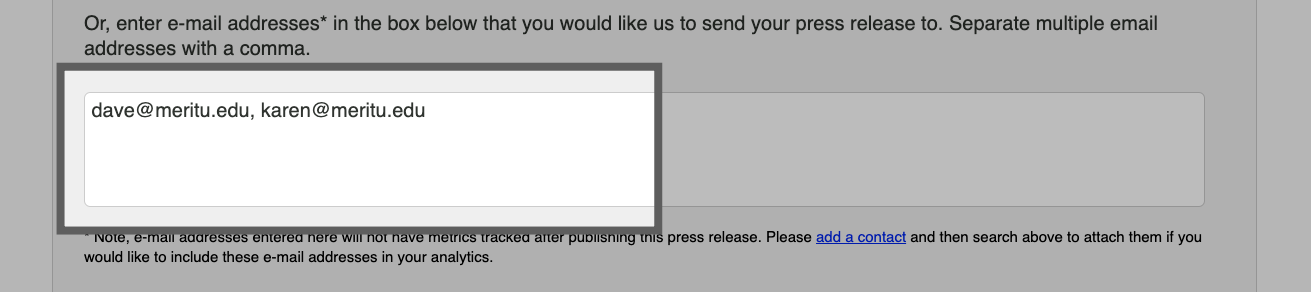
Or you can copy and paste the email addresses of your contacts into the box below:
Note: When you send a press release to one of your saved distribution lists, you won't see the Add Your Contacts section. When using a distribution list, your personal contacts should be saved to one of the lists you are using.
Post to Web
When you publish your press release, you'll have several options for if and how it will appear online.
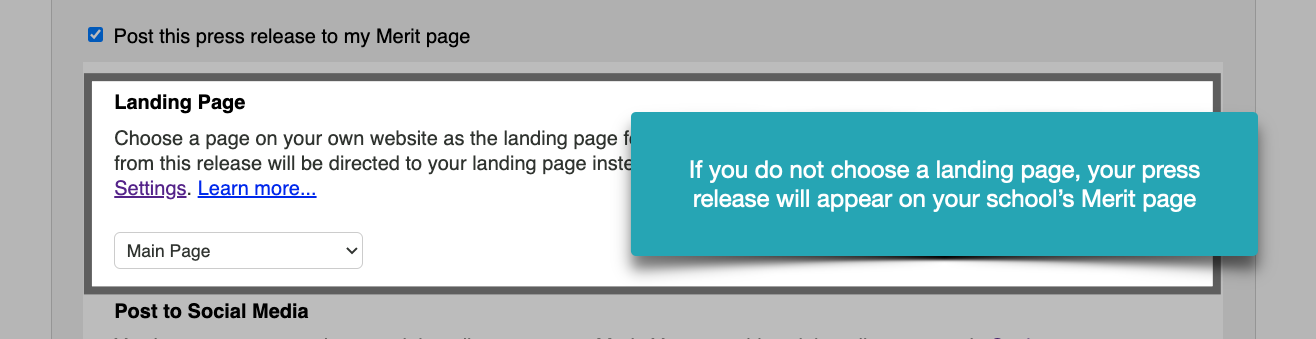
Post to Merit - By default, your press release will be hosted online on Merit, but if you'd prefer that it does NOT appear online, uncheck the Post to Merit page box:

Landing Page - You can host your press release on one of your institution's web pages using Merit's Landing Page feature. Use the dropdown box to select the page you'd like to use for this press release:
Post to Social Media - You can automatically post your press release to any of the social media accounts that are linked to your school's Merit page:

Preview Your Press Release
When you're ready, click the Preview button to review and publish your press release:

Preview Press Release - Review the contents of your press release and your media contact information:
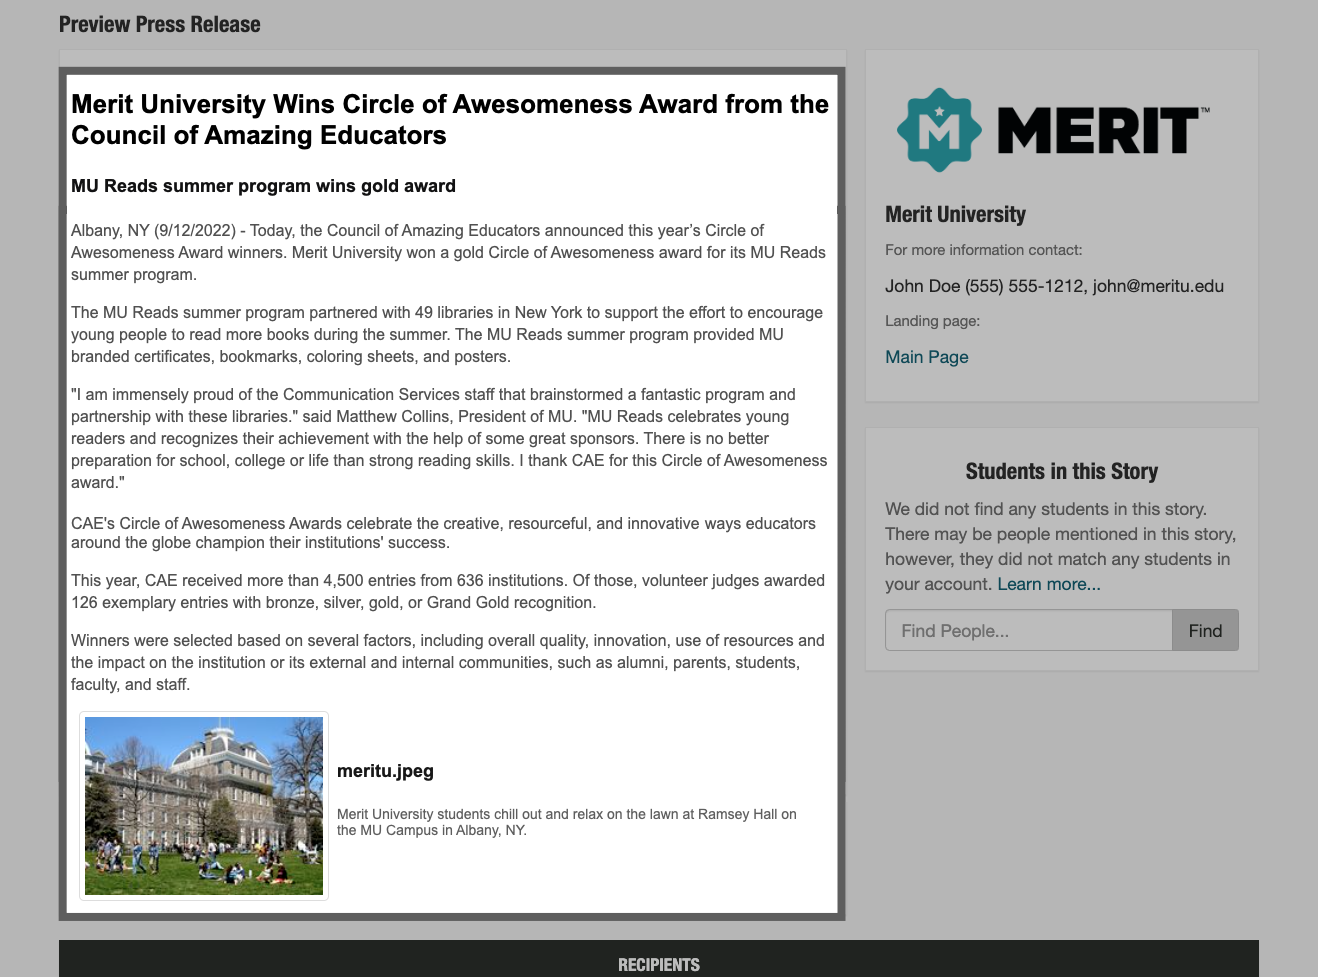
Add Students - Merit will attempt to identify any students with Merit pages mentioned in your press release. You'll see them listed on the right side of the screen. If there are students who Merit did not identify, use the search box to locate and add them:
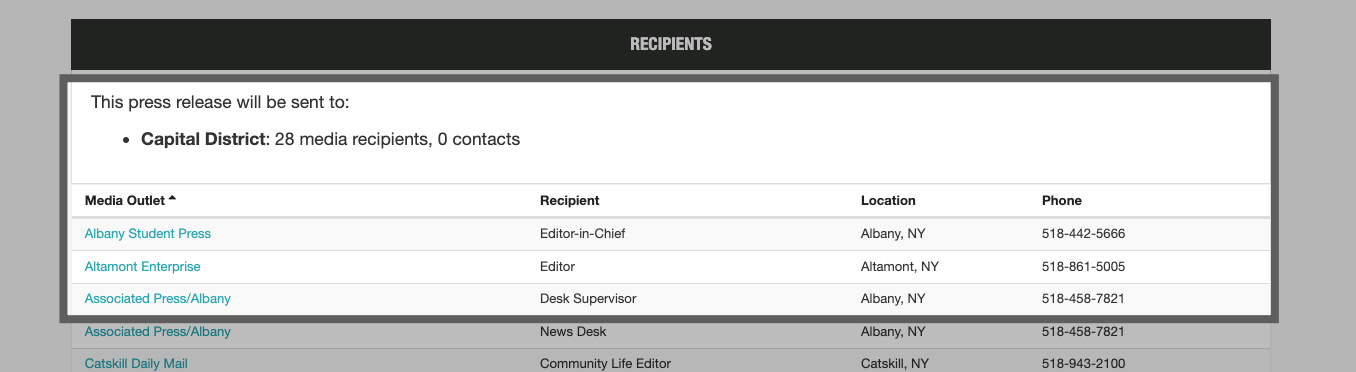
Review Media Recipients - All of the media recipients for your press release will appear in this section:
Publish Your Press Release - Lastly, you will see three options for wrapping up your press release. These options include saving your press release to the Newsroom Drafts tab inside your account, sending it out right away, or scheduling it to go out at a later day and time:

Note: Press releases are not automatically saved as drafts. If you or another team member plans to pick up and finish the release at a later time, use the Save as Draft option.
Schedule for Later - This option lets you release your press release on a day and time of your choice. Use the dropdown boxes in the pop-up window to select your day and time:

Congratulations, your press release is complete. For information about your published press release, click here.
